
CRM Developer Account Creation & OAuth Setup Guide #
This document added guidance walks you through:
-
Creating a Zoho CRM Developer Account #
-
Setting up CRM access #
-
Creating OAuth Client (Client ID & Secret) #
-
Adding the Redirect URI (needed in your plugin) #
-
Generating Access Tokens for syncing orders #
Create Your Zoho CRM Developer Account
Step 1 — Open Zoho CRM Registration Page #
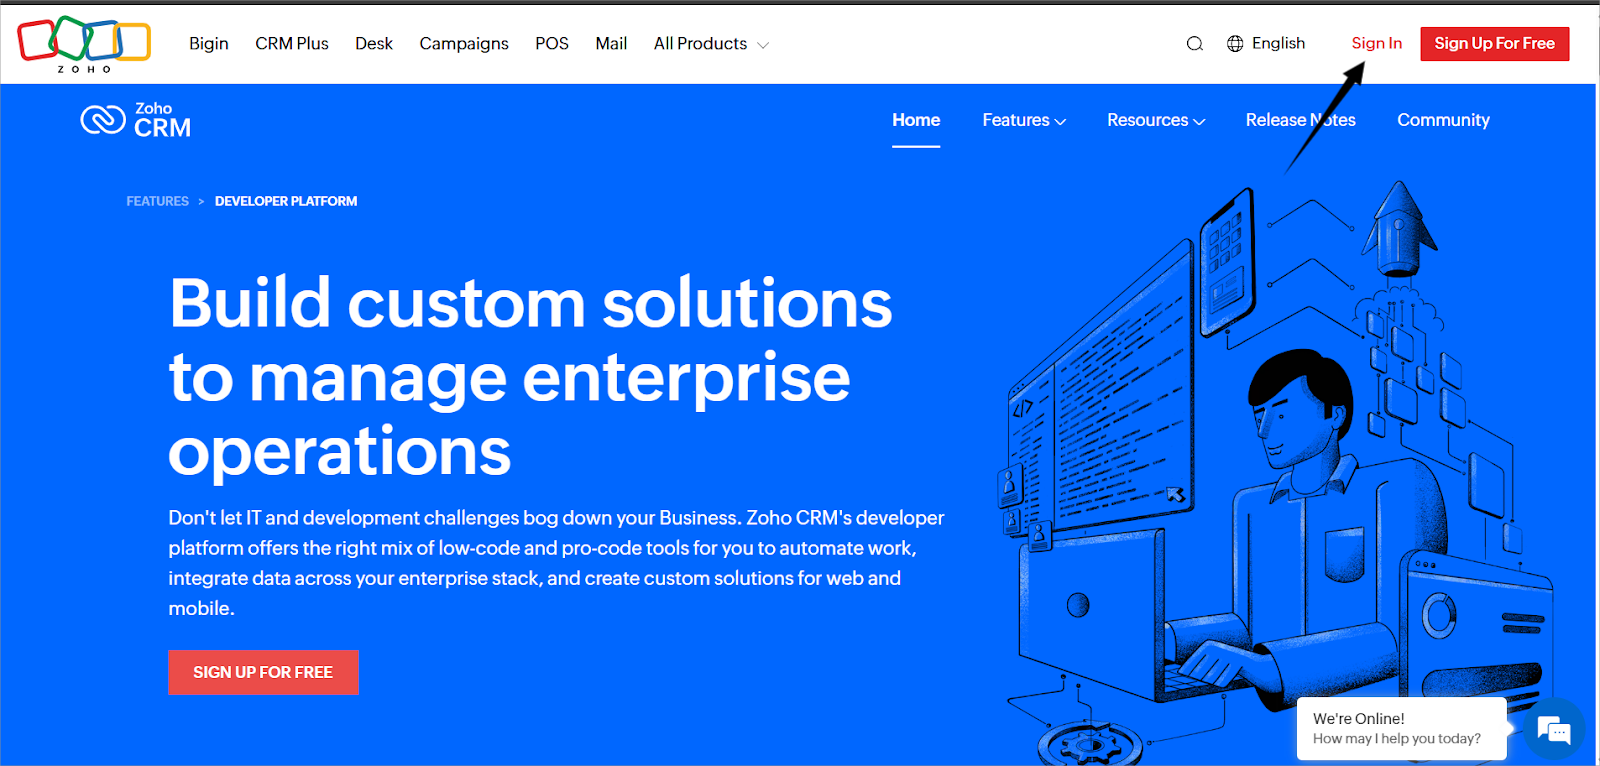
- Click Sign Up for Free.
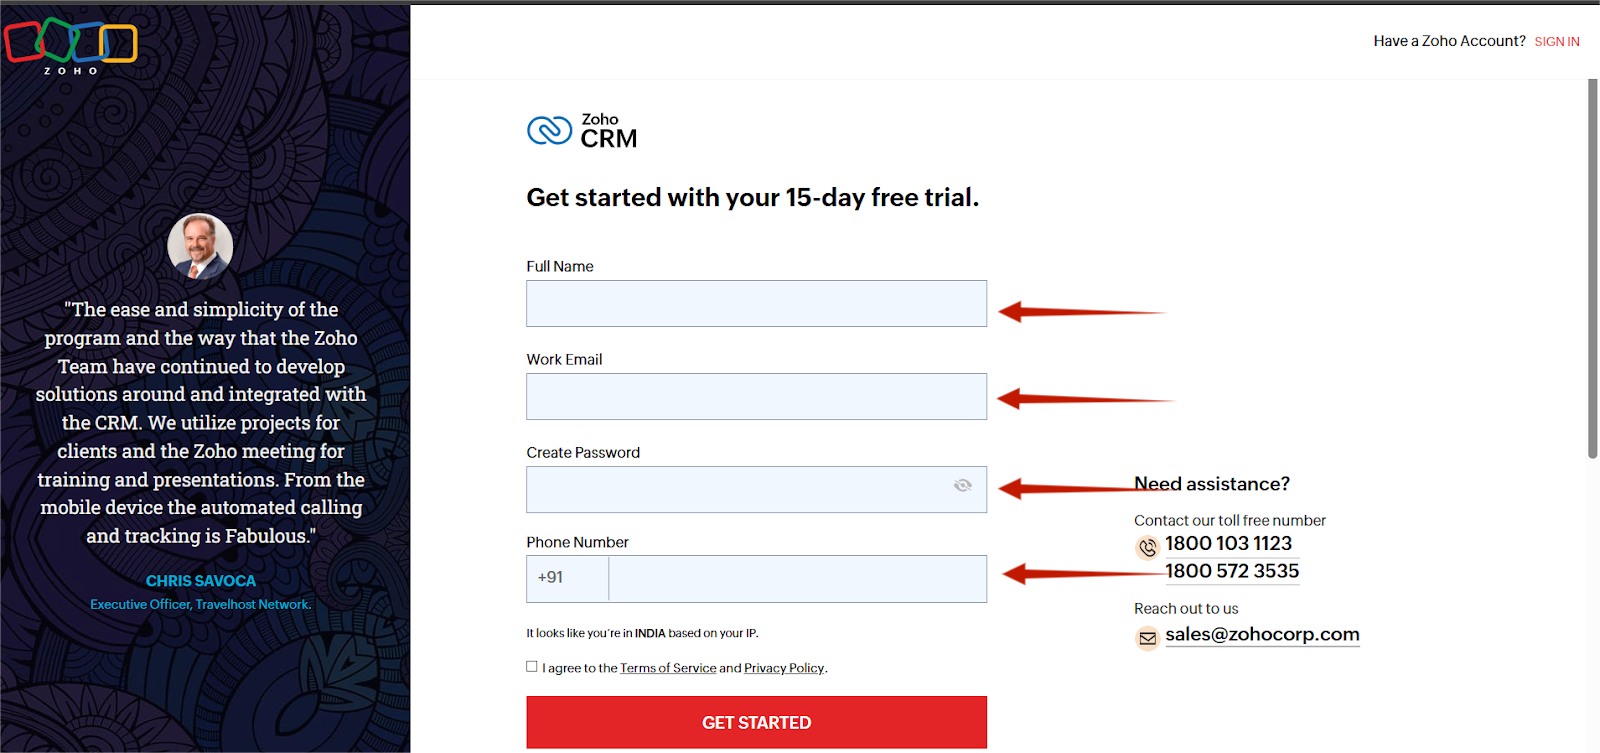
Step 2 — Enter Your Details #
Fill in the following fields:
- Full Name
- Email Address
- Mobile Number (optional)
- Password
Click Sign Up for Free.
Step 3 — Verify Your Email #
- Zoho will send a verification link to your email.
- Click Verify Email Address to activate your account.
Step 4 — Login to Zoho CRM #
- After verification, open: https://crm.zoho.com
- Sign in using your Zoho credentials.
Zoho CRM Setup
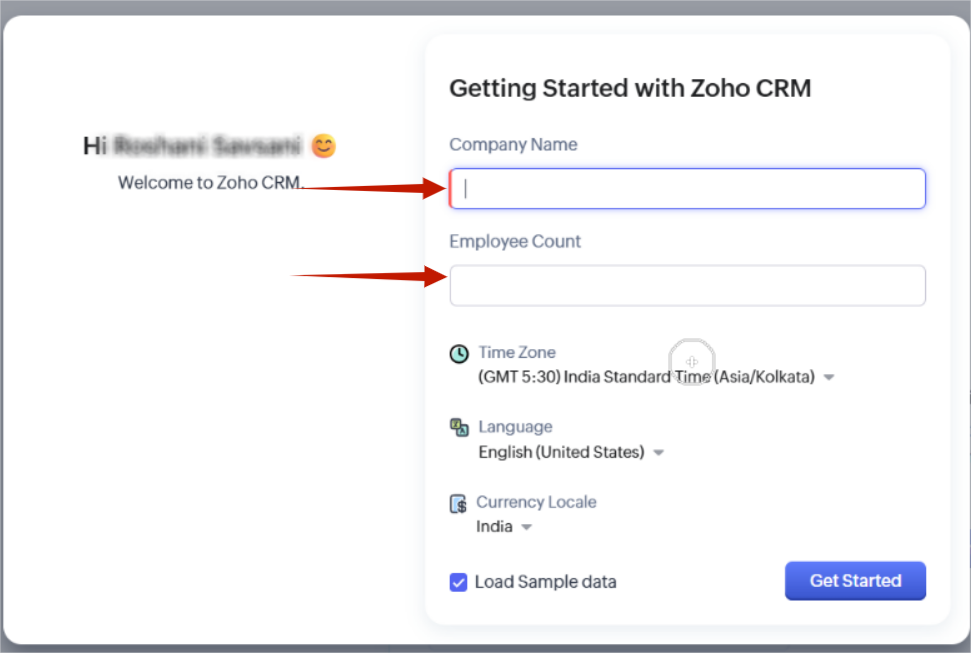
Once logged in:
- Zoho will ask a few onboarding questions (company type, purpose).
- Complete them or skip.
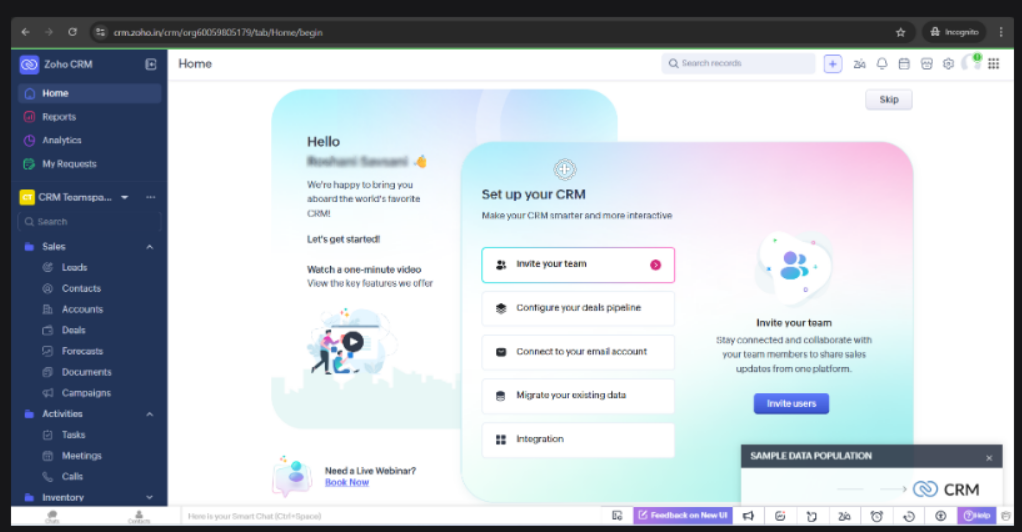
You are now inside Zoho CRM Dashboard.
Access Zoho Developer Console
Your plugin requires Client ID, Client Secret & Redirect URI, created in Zoho’s API Console.
Follow these steps:
Step 1 — Open Zoho API Console #
Visit : https://api-console.zoho.com/
Log in with the same Zoho account.
Step 2 — Click “Add Client” #
Top right corner → Add Client
This is where you create OAuth credentials.
Create OAuth Client for Plugin
A form will appear asking for details.
Fill it exactly as shown:
Client Type #
Select : Server-based Application
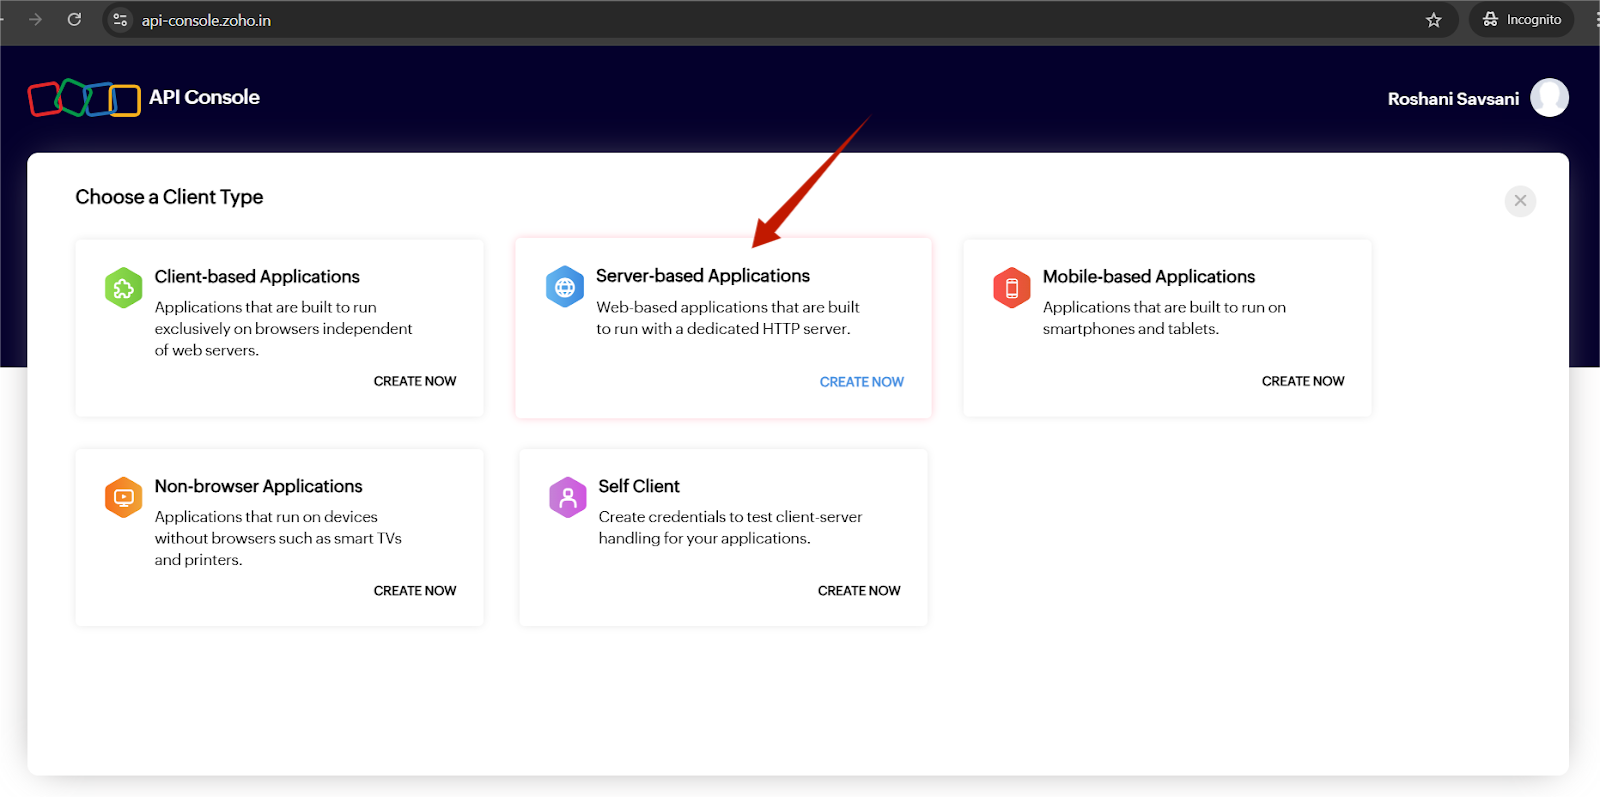
This is required for WooCommerce server-to-Zoho communication.
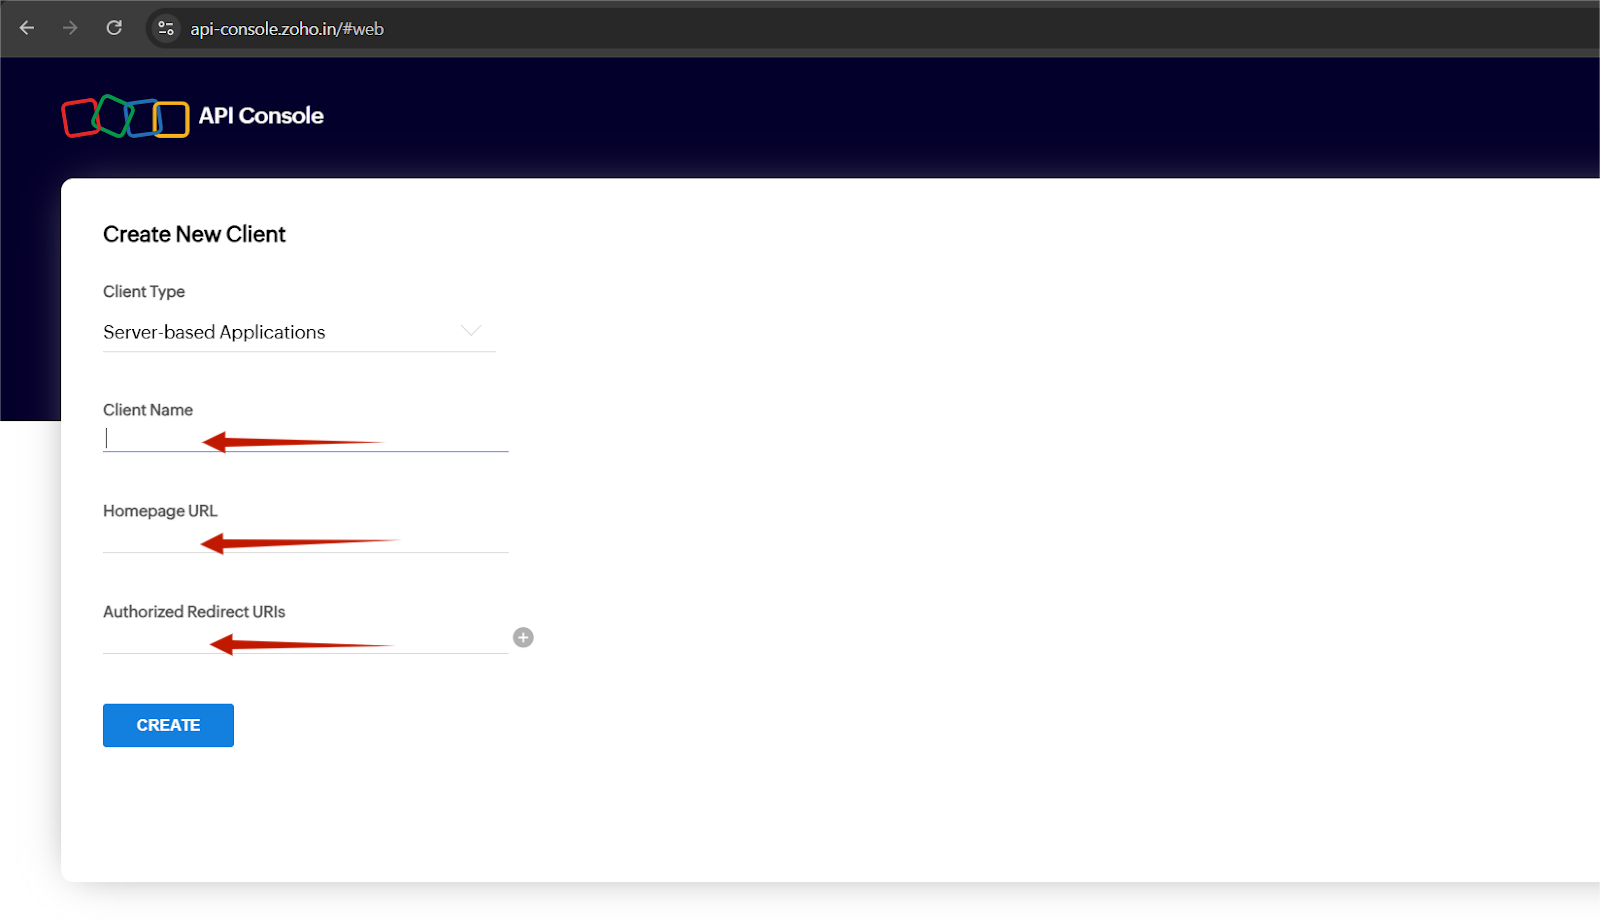
Client Name #
Enter your website name (e.g., MyStore WooCommerce Integration).
Homepage URL #
Enter your store’s homepage:
Example: https://yourstore.com
Authorized Redirect URIs #
Paste the Redirect URI from your plugin settings.
From your screenshot, it is something like:
https://yourstore.com/wp-admin/admin-post.php?action=codshield_zoho_auth
This must match exactly
If it does NOT match, Zoho will reject the OAuth authentication.
Click “Create” #
After submitting, Zoho will generate:
Client ID #
Client Secret #
Copy both.
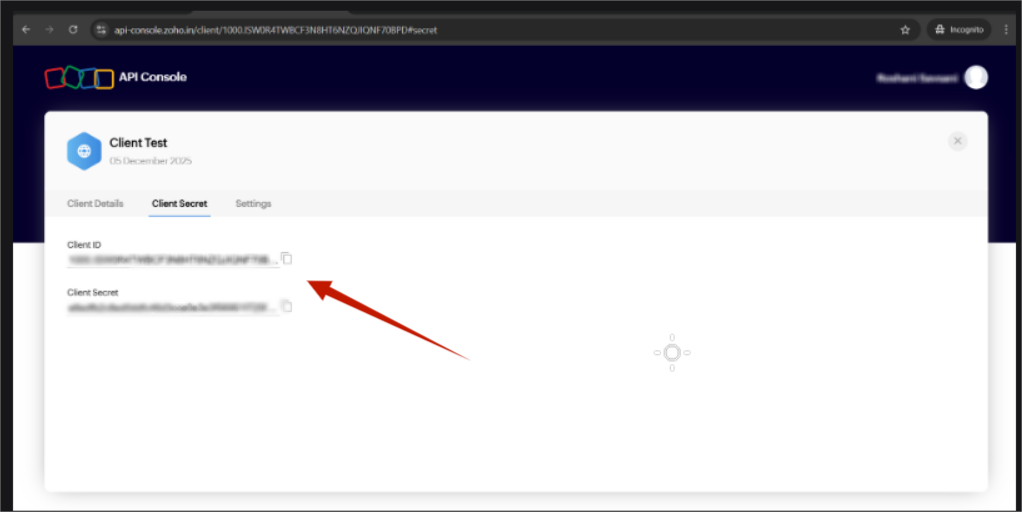
You will paste these inside your plugin settings.
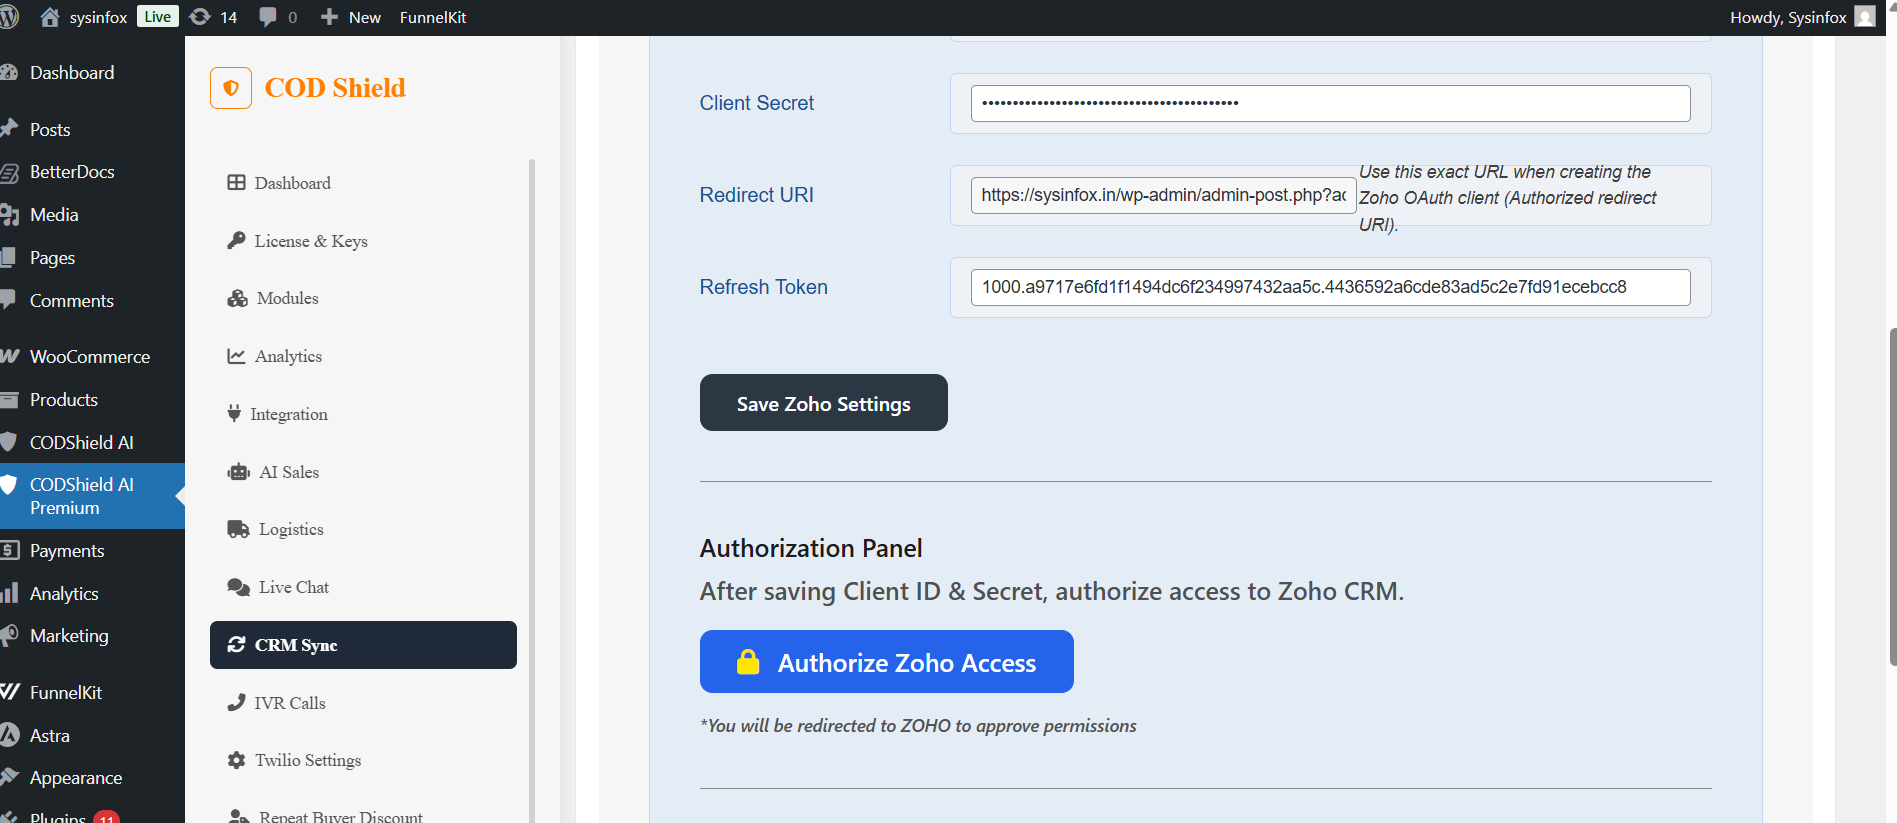
Configure Zoho in Your Plugin Settings
Go to:
WordPress → CODShield AI Premium → CRM Sync → Zoho CRM Settings
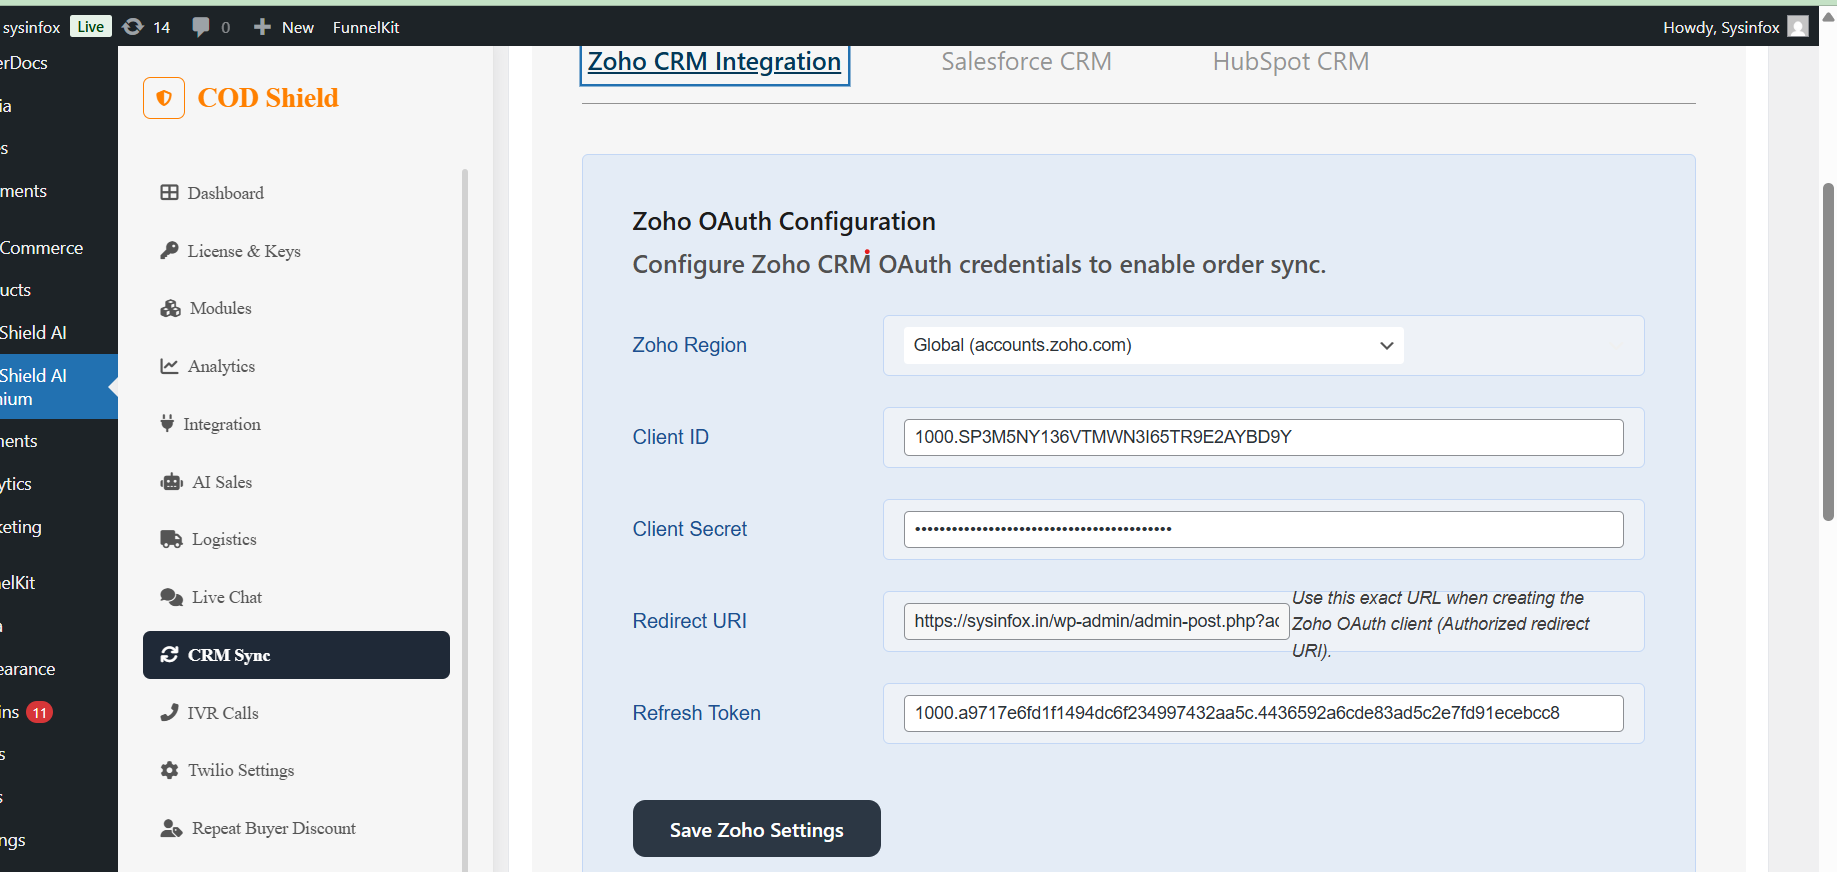
Fill the fields:
Zoho Region:
Choose the correct Zoho domain:
- Global → accounts.zoho.com
- IN (India) → accounts.zoho.in
- EU → accounts.zoho.eu
- US → accounts.zoho.com
(Merchant must select region where their Zoho account is hosted.)
✔ Client ID #
Paste the Client ID you copied from Zoho.
✔ Client Secret #
Paste the Client Secret.
✔ Redirect URI #
This field is auto-generated by your WordPress plugin.
Do NOT change this
You must paste this same URI when creating Zoho OAuth Client.
Your plugin will:
✔ Receive an Authorization Code
✔ Automatically exchange it for:
Access Token
Refresh Token
✔ Save the Refresh Token securely in plugin settings
✔ Mark Zoho CRM as “Connected”
The Refresh Token field will now show: 1000.xxxxxx…(long token)…
Confirm Integration in Zoho CRM
After authorizing:
Go to Zoho CRM : https://crmplus.zoho.com/
Open Leads module
Place a test WooCommerce order
A new Lead should appear automatically with fields:
- Name
- Phone
- Order ID
- Order Amount
- Order Status
- Source: WooCommerce


