
Requirements Before Creating a Shiprocket Account #
Before signing up, keep the following ready:
✔ Valid email address #
Required to verify the account.
✔ Active mobile number #
Shiprocket sends OTP verification.
✔ Store details #
- Business/store name
- Pickup address
- Pincode
- GSTIN (optional for initial setup)
✔ Bank details (optional during signup) #
- Account number
- IFSC code
- Account holder name
Create Your Shiprocket Account #
Open the Shiprocket Signup Page #
Visit: https://www.shiprocket.in/
or directly: https://app.shiprocket.in/account/signup
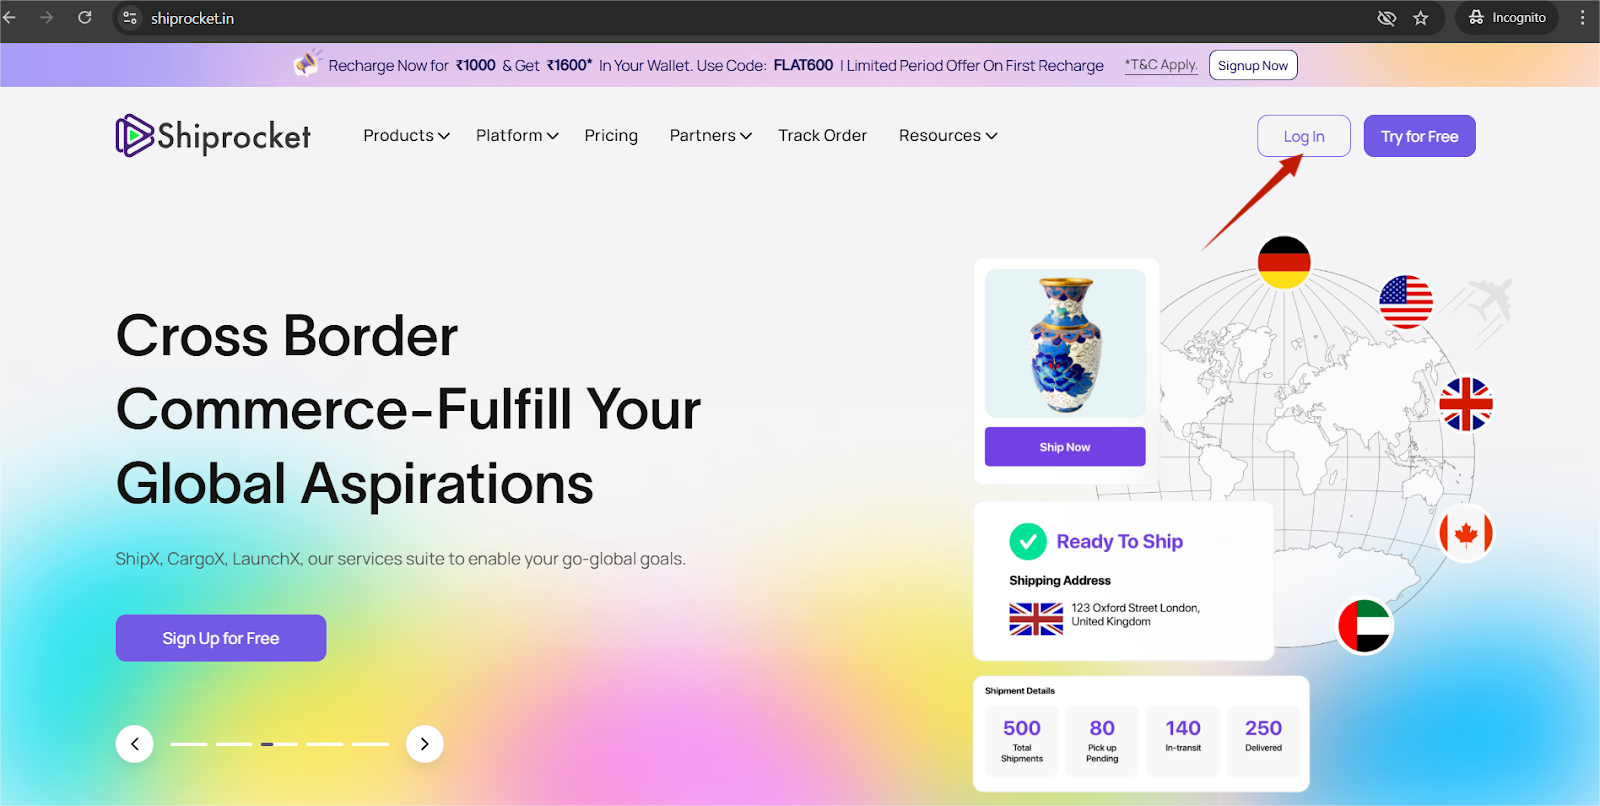
Start Registration #
You will see a signup form titled “Create Your Account” or “Get Started for Free”.
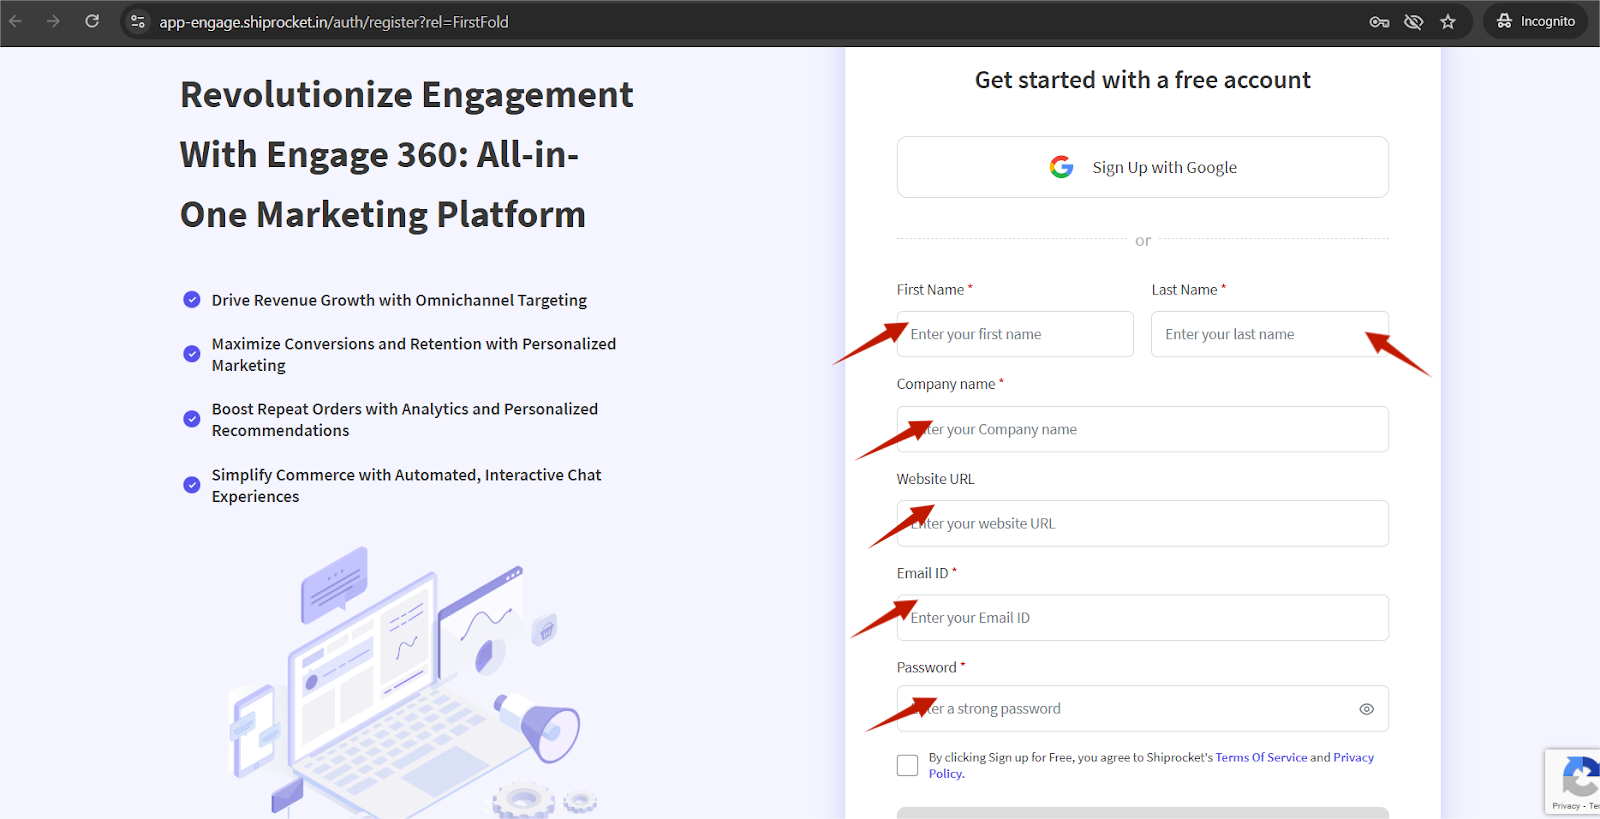
You must fill:
1. Full Name #
Enter your name exactly as you want on the account.
2. Email Address #
Enter your valid business email.
3. Mobile Number #
Enter your active mobile number → click Send OTP
Enter 6-digit OTP received on mobile
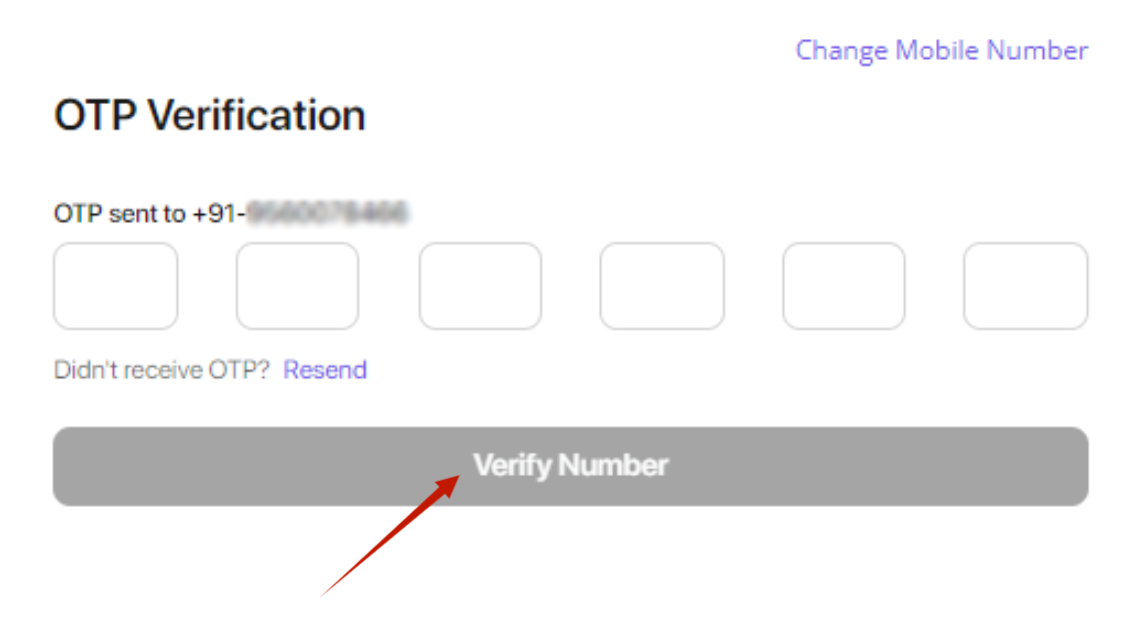
Click Verify
4. Create Password #
Password must include:
- 1 uppercase letter
- 1 lowercase letter
- 1 number
- 1 special character
- Minimum 8 characters
5. Business Name (Store Name) #
This will appear on your dashboard & pickup address.
After filling all details → click Create Account.
3. Verify Email & Login #
Step 1 — Email Verification #
Shiprocket sends a verification email:
“Verify Your Shiprocket Account”
Open the email → click Verify Email.
Step 2 — Login #
Visit:
https://app.shiprocket.in/
Enter:
- Email or mobile
- Password
Click Login.
Now your Shiprocket dashboard opens.
4. Complete Your Shiprocket Profile (Mandatory) #
Shiprocket requires certain information before enabling shipping, API and webhooks.
Complete Business Information #
Go to:
Settings → Company → Company Details
Fill:
- Business name
- Website (optional)
- GST Number (optional unless shipping in bulk)
- PAN (optional for now)
Click Save.
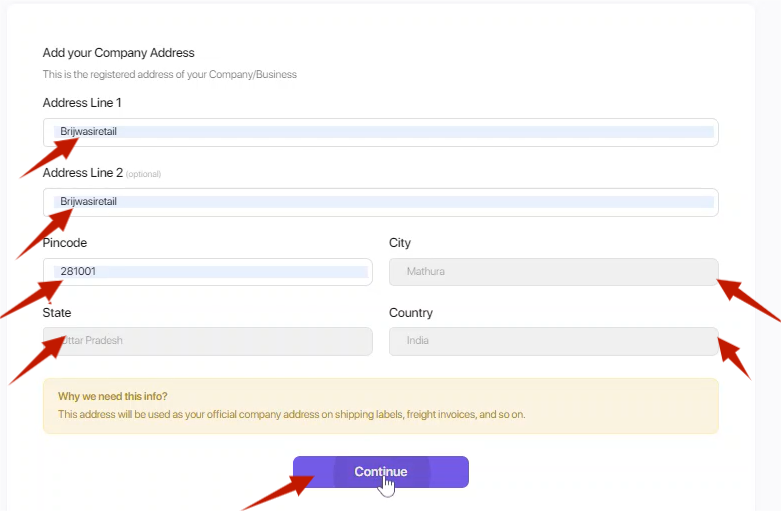
Add Your Pickup Address #
Go to:
Settings → Company → Pickup Address

Click Add New Pickup Address

Enter:
- Contact name
- Mobile number
- Address line 1
- City
- State
- Pincode
- Business name for pickup
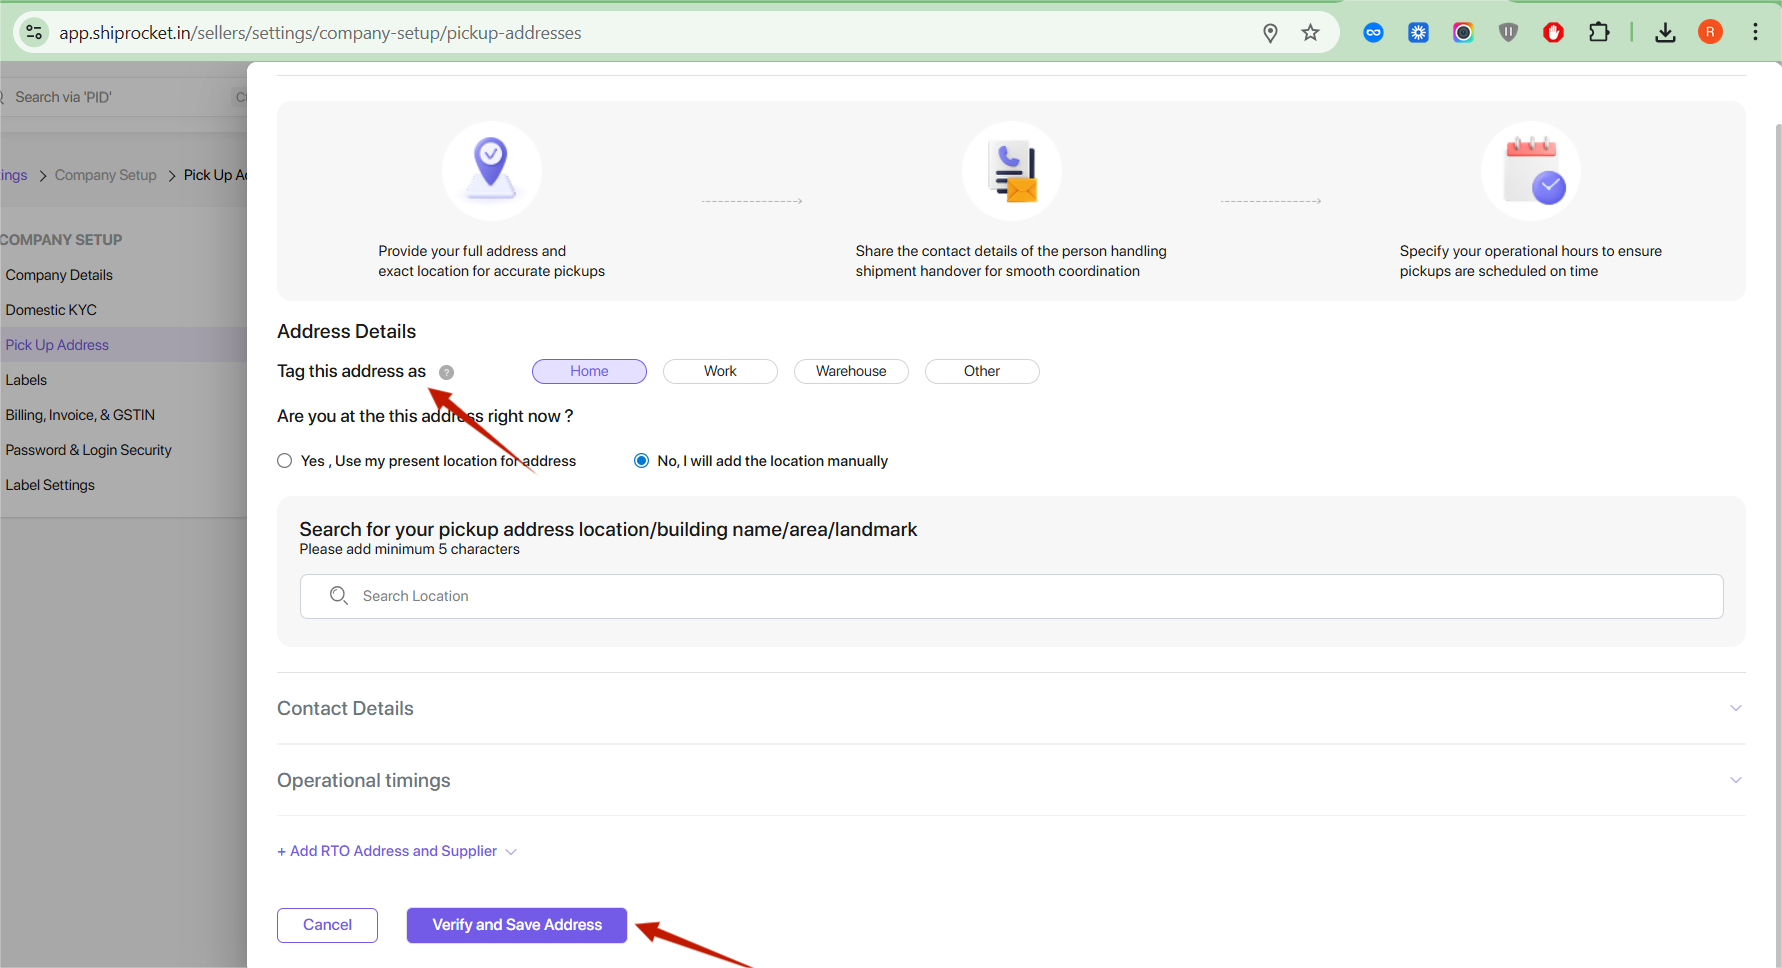
Click Save Address.
Your pickup address must show:
✔ Verified
If not, Shiprocket support verifies normally within minutes.
Add Your Bank Details (Optional) #
Go to:
Settings → Company → Bank Details
Fill:
- Bank account holder name
- Bank account number
- IFSC code
Click Save.
Generate API Credentials (For Plugins & Integrations) #
To connect WooCommerce or custom plugins, you need API credentials.
Open API Settings #
Go to:
Settings → API → Configure
(or)
Integrations → API
API Token (Key) & Secret #
You will see:
- Email (username)
- API Token
If token is not generated:
Click Generate API Token.
Copy:
- API Email/User
- API Token
These are required for your plugin integration.
Enable Shiprocket Webhooks (If Your Plugin Uses Them) #
Go to:
Settings → API → Webhooks
Click Add New Webhook.
Fill:
- Webhook URL (your plugin endpoint)
- Event Type (Order Created, Order Updated, AWB Assigned, etc.)
- Description (optional)
Click Save Webhook.
Webhook status should be Enabled.
Connect Shiprocket to WooCommerce (Optional) #
If you want the official Shiprocket plugin:
Go to:
Integrations → Channels → Add New → WooCommerce
You will be asked to enter:
- Store URL
- Consumer Key
- Consumer Secret
Then your store connects to Shiprocket.
8. Shiprocket Account is Ready #
After completing:
✔ Signup
✔ Email & mobile verification
✔ Pickup address
✔ API Token generation
✔ Webhooks setup
Your Shiprocket account is fully ready for API or plugin integration.
How to do International KYC? #
To complete International KYC with Shiprocket, follow these steps:
Step 1: Go to the “Settings” tab in your Shiprocket account.
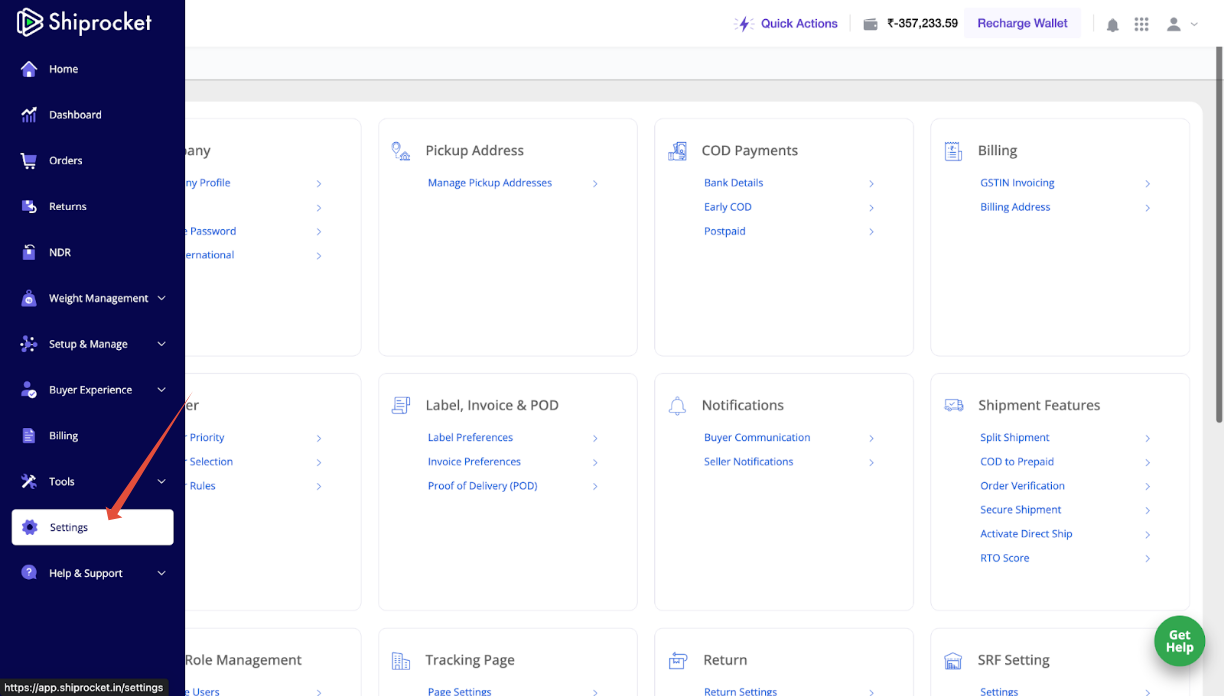
Step 2: Click on the “KYC International” option.
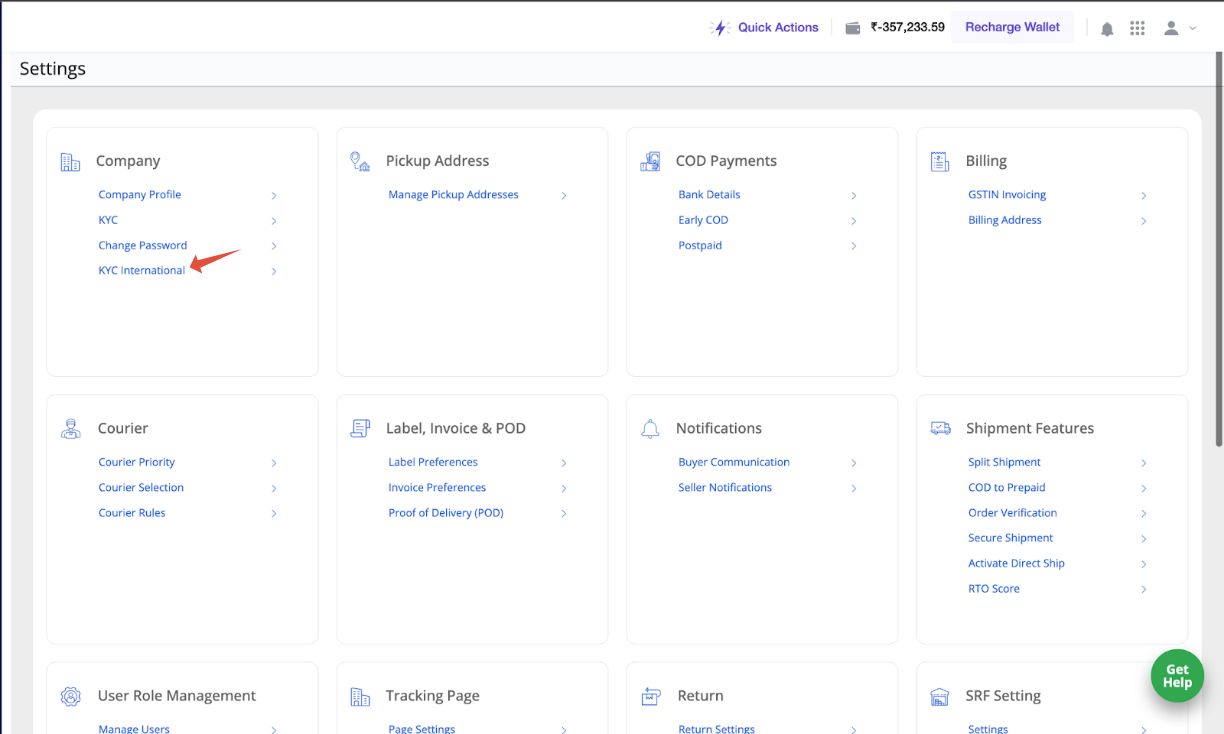
Step 3: Select your organization type from the dropdown menu.
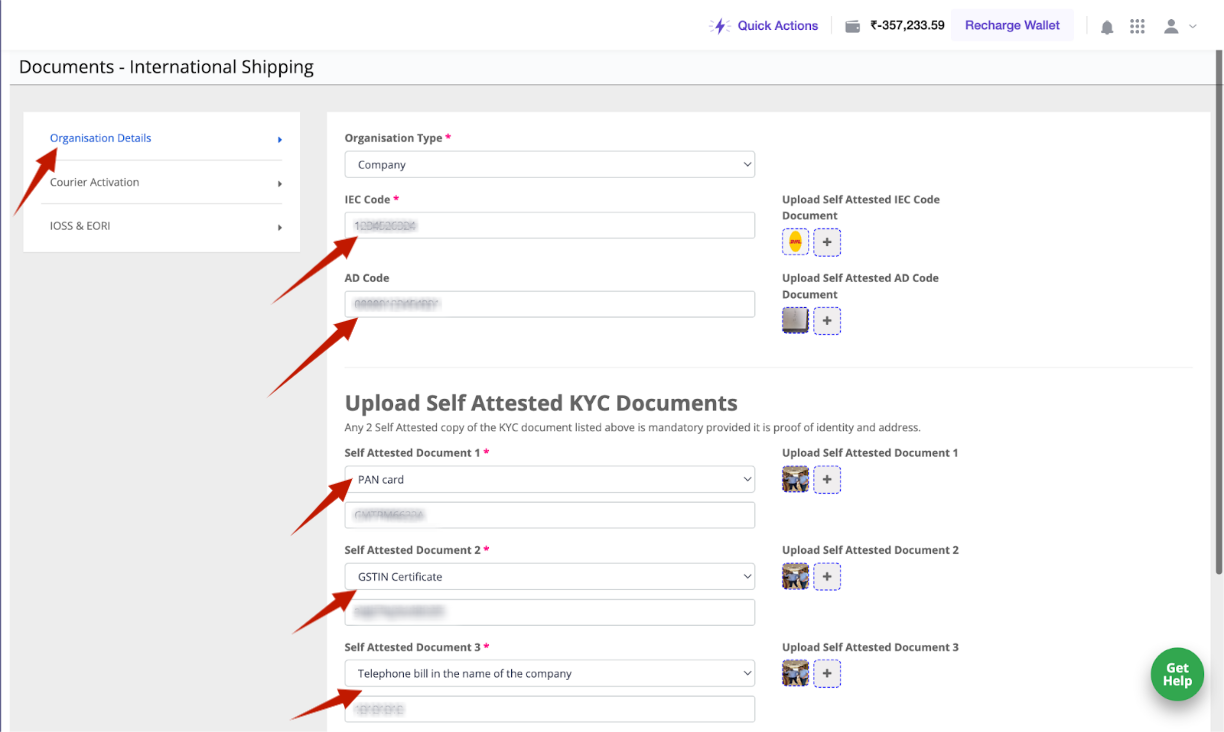
Step 4: Upload the necessary documents as requested. This may include identification documents, business registration documents, and other required information.
Step 5: Click the “Update” button to complete the process.
Note: Your International KYC will be reviewed and approved within 8-24 hours. If you have any issues or questions, you can reach out to the Shiprocket customer support team for assistance.
What documents are required for KYC verification? #
Simplified KYC Verification at Shiprocket
Individual:
- Automated: Seamlessly complete your KYC using Aadhaar OTP verification.
- Manual:Upload any two of the following documents:
- Aadhaar Card
- PAN Card
- Passport
- Voter ID Card
- Driving License
Sole Proprietorship:
- Photo/Selfie: Upload a clear photo or selfie.
- KYC:Complete KYC via Aadhaar or GSTIN OTP verification, or manually by submitting any two of the following:
- Company PAN card
- GST Certificate
- Company Incorporation Document
Company:
- Photo/Selfie: Upload a clear photo or selfie.
- KYC:Complete KYC via GSTIN OTP verification, or manually by submitting the following:
- PAN Card (Mandatory)
- GST Certificate (all 3 pages required) or Company Incorporated Document
Important Notes:
- Clear Document Upload: Ensure all uploaded documents are clear and legible to avoid rejections.
- Manual Verification: Manual KYC verification may take 2-3 business days.
How to create an API user? Can I have more than one API users? #
Create an API User in Shiprocket (Up to 4 Allowed):
- Navigate to API Settings: In your Shiprocket panel, go to Settings on the left-hand menu and then select API.
- Create New User: Click on Configure and then the Create an API user button.
- Provide User Credentials: Enter a valid email address (different from your registered email) and create a strong password. Confirm the password for accuracy.
- Generate API Credentials: Click on the Generate API Credential button to complete the user creation.
Important Note: After creating the API user, you’ll need to use the Shiprocket Authentication API to generate a token for each API request. Refer to the Shiprocket API documentation for details on using the Authentication API.


